 Español
 English

Shopping Cart
⭐ 4.8/5 customer rating24-48h dispatch mainland SpainOwn manufacture, EU-madeFree specialist technical advice
SDT Brakes
Brake Cleaner: Complete Guide to Uses, Application and Safety
Brake cleaner is one of the most widely used maintenance products in workshops and garages, yet it is also one of the most frequently misused. Incorrect application can damage rubber components, contaminate brake pads or create genuine health and safety risks.
In this technical guide, we explain exactly what brake cleaner is for, how to apply it step by step, which surfaces you can clean and which you must avoid, and what safety measures are essential when working with it.
⭐ 4.8+480 valoraciones
verificadas
verificadas
Full technical guidefrom basic concepts to professional-grade application
Safety precautionsprotect your health and brake components every time
Material compatibilityknow what you can clean and what to avoid
SDT expert advicerecommendations from high-performance brake specialists
What type of vehicle are you maintaining with brake cleaner?
What is the difference? Comparison of brake cleaner types
| Model | Format | Drying speed | Rubber safe | Recommended use |
|---|---|---|---|---|
| Standard aerosol cleaner | 500 ml spray | Very fast | No | General workshop use |
| Chlorine-free aerosol cleanerTop choice | 500 ml spray | Fast | Yes | Modern ABS/ESP systems |
| Bulk liquid cleaner | 5 L container | Moderate | Formula dependent | Professional workshop use |
| Cleaner with corrosion inhibitor | 400 ml spray | Fast | Yes | Competition and high performance |
| General-purpose degreaser | Spray / Liquid | Slow | Not always | Not recommended for brakes |
What is brake cleaner and what exactly is it used for?
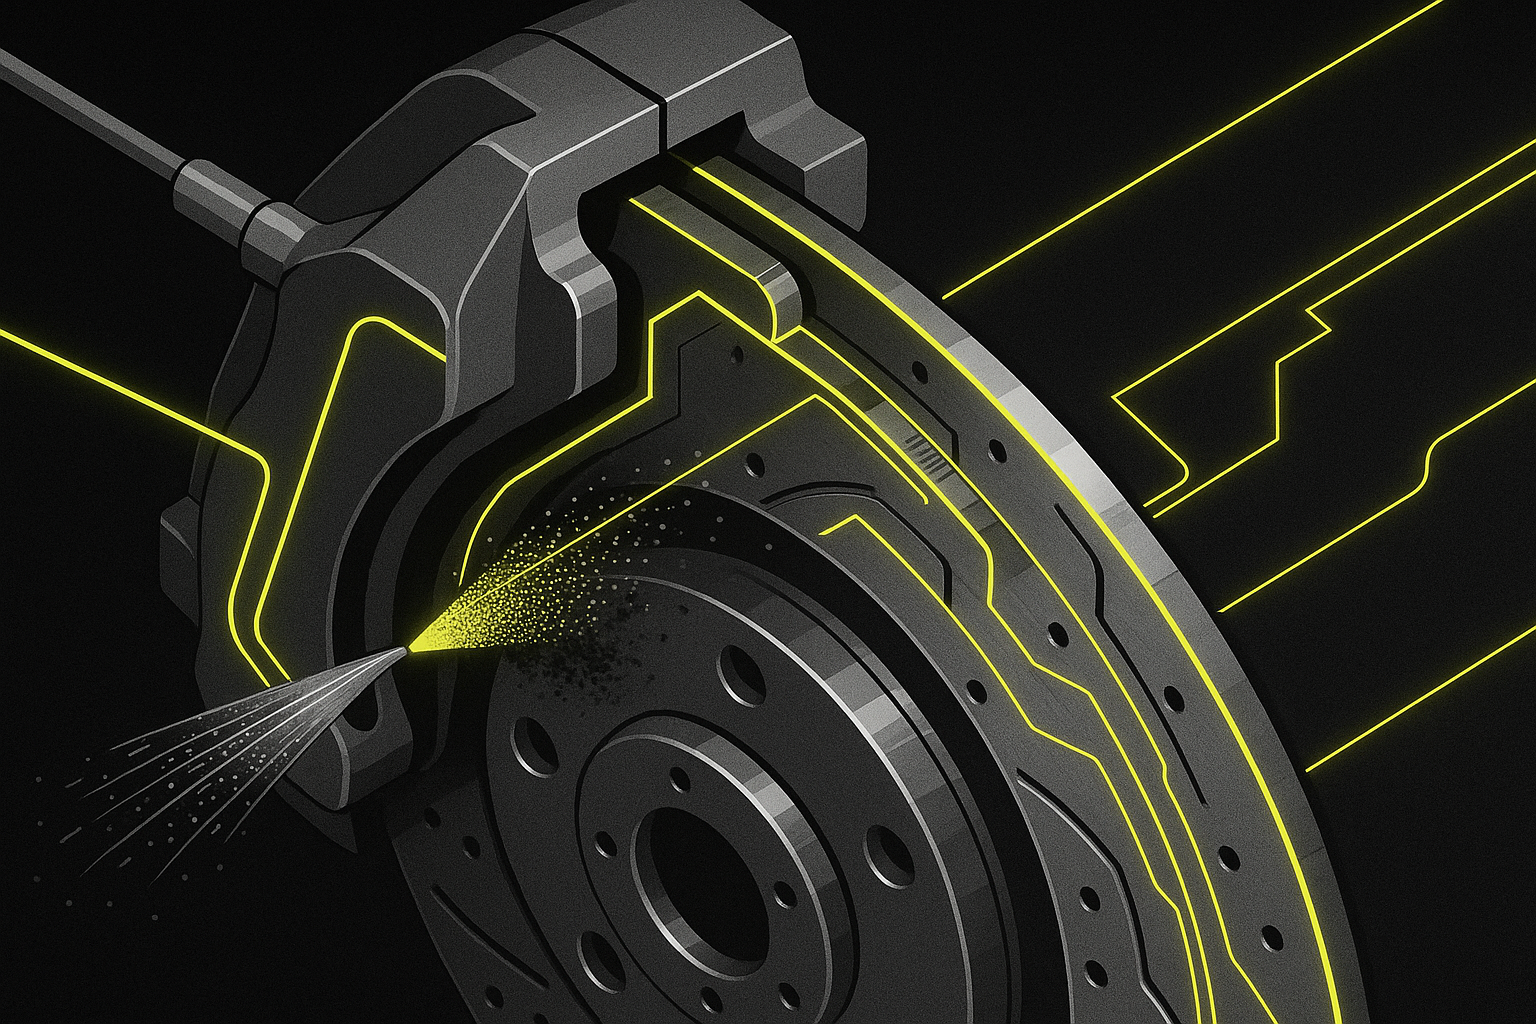
Brake cleaner is a specialist chemical cleaning product formulated to remove grease, oil, brake dust, road grime and brake fluid residue from braking system components. Unlike general-purpose degreasers, it is designed to evaporate rapidly without leaving any residue, making it ideal for surfaces that require complete freedom from contaminants in order to function correctly and safely.
Its range of application is broad: brake discs, brake callipers, brake drums, backing plates, the outer surface of braided brake lines and other metal surfaces within the brake assembly. It should not be applied directly onto the friction material of brake pads in depth, onto the inner rubber section of brake hoses, or onto plastic or painted components without first confirming compatibility, as some solvents can degrade these materials.
There are two main families of brake cleaner: those containing chlorinated solvents, which are highly effective but potentially aggressive towards elastomers and the environment, and chlorine-free cleaners, which represent a safer alternative for modern systems featuring rubber seals, ABS sensors and electronic brake control components. The choice between the two depends on the type of vehicle, the age of the system and the working environment.
How does brake cleaner work? Chemistry and mechanism of action
The effectiveness of brake cleaner is based on the action of highly volatile organic solvents — typically acetone, heptane, hexane, IPA (isopropyl alcohol) or aliphatic hydrocarbons — which break the molecular bonds of grease and oil and carry them away as they evaporate. This rapid evaporation, which usually occurs within seconds, is precisely what distinguishes brake cleaner from other cleaning products: it requires no rinsing and leaves no residual film on the treated surface.
When brake cleaner spray contacts a contaminated brake disc, the solvent penetrates the surface layer of grease or oil, dissolves it and carries it away together with pad dust and dirt deposits. The result is a clean, dry metal surface with its friction coefficient restored so that it works correctly with the brake pads.
In aerosol formats, the propellant gas projects the product under pressure, making it easier to reach difficult-to-access areas such as calliper pistons, the ventilation channels of floating discs or the recesses of the calliper carrier. Some formats include an extension nozzle for greater precision. Professional-use versions are available in bulk containers for application with a cleaning gun or disposable brush, which is more economical for workshops handling high volumes of work.
How to apply brake cleaner step by step: a practical guide
Before starting, ensure you are working in a well-ventilated space or outdoors, as brake cleaner vapours are flammable and harmful to respiratory health if inhaled in an enclosed area. Protect yourself with nitrile gloves, safety goggles and, in confined spaces, an organic vapour respirator mask.
Step 1 – Vehicle preparation: Raise the vehicle with a hydraulic jack and place axle stands securely. Remove the wheel to gain full access to the brake assembly. Ensure the disc is cold before applying any chemical product; applying cleaner to a hot disc can cause sudden vapour release and splashing.
Step 2 – Application to the brake disc: Shake the aerosol can, direct the nozzle to between 15 and 25 cm from the disc surface and apply the product using circular movements. Allow it to act for 10 to 30 seconds. Residues will lift with the spray jet, or you can assist with a stiff non-metallic brush or a lint-free cloth.
Step 3 – Cleaning the brake calliper: Apply the cleaner to the calliper pistons, the pad seating surfaces and the slider pin channels. At this stage, avoid excessive amounts of product near visible rubber seals unless the cleaner is certified as rubber-compatible.
Step 4 – Drying and inspection: Allow the product to evaporate completely before refitting the wheel. Do not apply artificial heat to accelerate drying. Once everything is reassembled, perform several gentle stops to bed the brake pads in and confirm correct system operation before driving at normal speeds.
Safety precautions and common mistakes when using brake cleaner
The most dangerous mistake when using brake cleaner is applying it near heat sources or open flames. Its components are highly flammable and vapours can ignite at a distance from the point of application. Never use it on a hot engine, near catalytic converters or when using tools that generate sparks.
Another frequent error is using brake cleaner as a substitute for degreaser on surfaces outside the braking system, such as cylinder head gaskets, engine seals or plastic components. The aggressiveness of certain solvents can cause irreversible damage to those parts and result in costly repairs.
Key precautions you must always observe:
- Always wear nitrile or neoprene gloves; prolonged skin contact can cause dermatitis.
- Ventilate your workspace: vapours are toxic if inhaled over extended periods.
- Do not dispose of the product down the drain; it is a hazardous waste that must be disposed of in accordance with local regulations.
- Store the can away from heat and direct sunlight, always in an upright position.
- If you accidentally contaminate brake pads with oil during the job, replace them; cleaner will not restore pads once the friction material has been impregnated.
Following these guidelines not only protects your health but also ensures the braking system is left in optimal condition after cleaning, with no residues or component damage that could compromise stopping performance.
Brake cleaner is an essential tool for any serious brake system maintenance, but its effectiveness depends entirely on using it correctly. At SDT Brakes you will find all the maintenance accessories and products you need to keep your brakes performing at their best, whether for road use or competition. Browse our catalogue and, if you have any questions, our technical team is ready to help.
Frequently asked questions
Does brake cleaner damage rubber seals and hoses?
It depends on the formula. Chlorinated solvent cleaners can attack certain elastomers. Always use a cleaner labelled as rubber-safe or chlorine-free when applying near hoses, seals or braided brake lines to avoid damaging these critical components.
Can I use brake cleaner to degrease newly fitted brake discs?
Yes, and it is strongly recommended. New brake discs are typically coated with a factory anti-corrosion oil that must be removed before bedding in. Apply the cleaner to a cold disc, allow it to evaporate fully, then bed the pads carefully over the first few kilometres of gentle braking.
Will brake cleaner restore contaminated brake pads?
If brake pads have absorbed grease or oil deep into their friction material, brake cleaner will not restore them — replacement is the only safe option. Cleaner is only effective on light surface contamination. When in doubt, always fit new pads; compromised friction material is a serious safety risk.
How often should I clean my brakes with brake cleaner?
For normal road use, a thorough clean every time you change pads or discs is sufficient. In track day or competition use, many mechanics clean the entire brake assembly after each session to remove pad dust and ensure consistent braking performance throughout the event.
Is brake cleaner safe to use on hydraulic bicycle brakes?
Use it with great caution. Hydraulic bicycle brakes use either mineral oil or DOT fluid depending on the brand, and some materials are particularly sensitive to strong solvents. Always consult the bicycle manufacturer's documentation before applying any chemical product to the braking system.
Do I need to remove the wheels to apply brake cleaner?
Not always. On many vehicles it is possible to access the brake assembly through the wheel spokes for a basic clean. However, for a thorough clean of callipers, discs and carriers, removing the wheel is recommended so you can work safely with full access and adequate ventilation.
Why SDT Brakes?
Brake specialistsOver a decade of experience in high-performance braking systems for road and competition.
Racing heritageProducts tested on circuit and validated for road use and professional workshops.
European manufactureAll SDT accessories comply fully with EU safety and environmental regulations.
Technical supportOur team answers your maintenance questions before and after every purchase.
Fast dispatchReceive your brake maintenance products within 24-48 hours across mainland Spain.
Keep your brakes in peak condition with SDT Brakes
Clean brakes are reliable brakes — and reliable brakes save lives. At SDT Brakes you will find all the maintenance products you need, backed by specialists who understand every component in depth. Do not cut corners when it comes to braking safety.
Updated: 20 June 2026